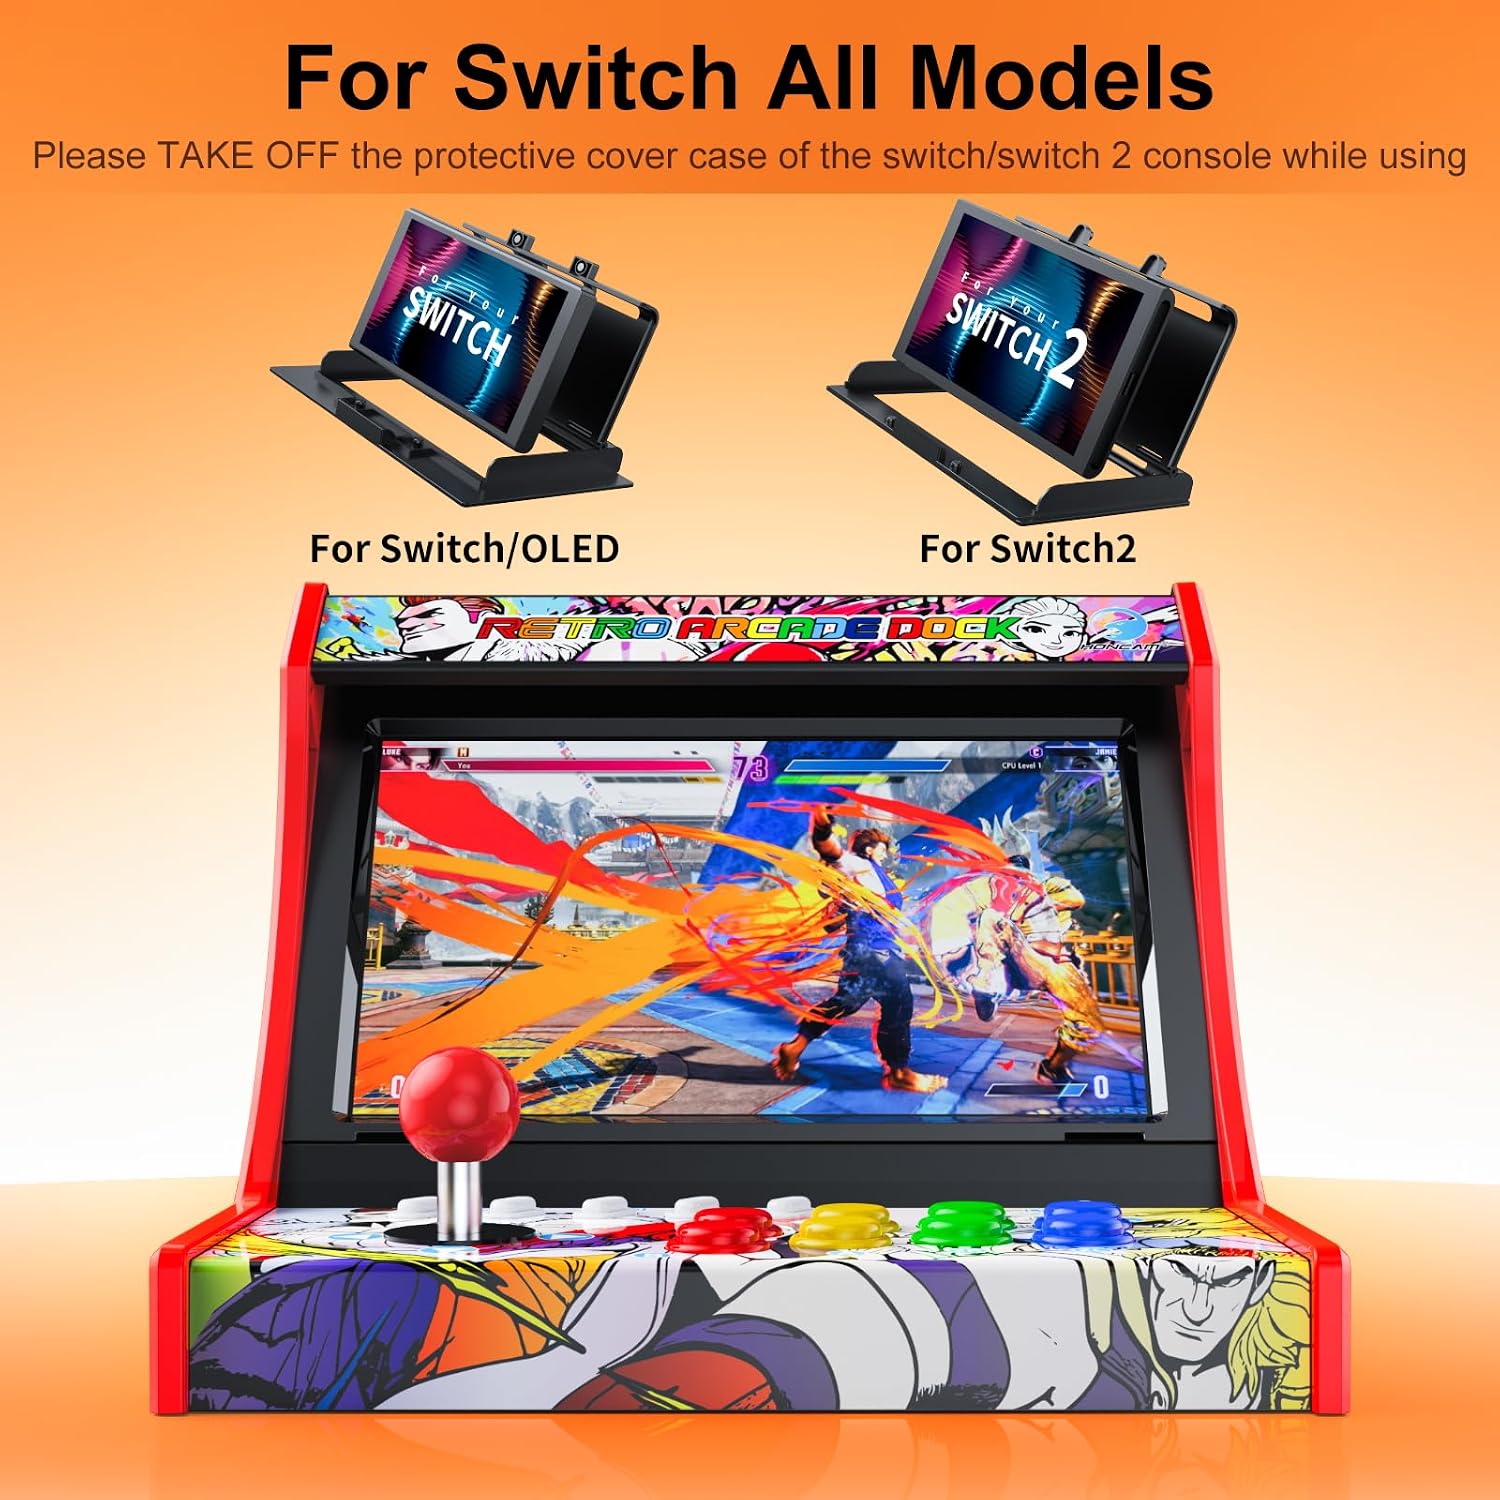
If you’ve ever wanted to play Mario Kart or Street Fighter the way it was meant to feel — standing at a cabinet, joystick in hand, with a proper marquee overhead — you’re not alone. An arcade cabinet stand is essentially a freestanding furniture piece engineered to hold an arcade machine (or a modern gaming console dressed up to look like one) at the right height, with the structural rigidity to survive thousands of button-mash sessions. The Nintendo Switch, Nintendo’s hybrid gaming console that plays both as a handheld and a TV-connected device, has become a surprisingly popular choice for this kind of setup: its game library leans heavily retro, its display dock is compact enough to tuck inside a cabinet base, and its controller options include genuine arcade-style joystick attachments. The challenge most buyers hit is that “arcade cabinet stand” covers a huge range of products — and the bolt patterns, surface dimensions, and weight ratings that look compatible on paper often tell a different story once your hardware arrives. This guide maps out what actually matters, shows you the math, and gives you a clear decision tree by the end.
Why Switch-Specific Arcade Stands Are a Different Animal
Most arcade cabinet stands on the market were designed with one of two target platforms in mind: a dedicated coin-op machine (where the monitor, controls, and computer live inside a sealed cabinet) or an Arcade1Up kit (a flat-pack, consumer-grade replica cabinet sold at major retailers, typically standing about 40 inches tall versus a full-size arcade cabinet’s 72 inches). The Nintendo Switch fits neither profile cleanly, and that’s where the friction starts.
Here’s the core compatibility problem in plain numbers:
By the numbers
- Standard Arcade1Up cabinet footprint: ~20” W × 20” D
- Full-size upright cabinet footprint: ~25” W × 32–34” D
- Nintendo Switch dock (with HDMI out): 4” W × 4.1” D × 4.4” H
- Typical Switch-compatible LCD monitor (24”): 21” W × 14” H panel area
The Switch dock is tiny. The monitor you’d want to display it on is not. Most stands designed for Arcade1Up kits assume a pre-built top section with a fixed monitor mount; they weren’t engineered for someone sourcing their own flat-panel separately. And full-size upright stands — the kind designed for vintage coin-op cabinets — have bolt patterns (the grid of pre-drilled holes used to mount a monitor bracket or control panel) spaced for 19” curved CRTs, not modern 24-inch flat-panels.
Per coinop.org’s Cabinet Dimensions and Bolt Pattern Reference Library, the most common legacy bolt pattern for upright monitor mounts is a 75mm VESA grid centered on a 19-inch opening. Modern monitors ship with either 75mm or 100mm VESA patterns. That 25mm gap — irrelevant to someone hanging a monitor on a wall — becomes a real headache when you’re bolting into a pre-drilled cabinet stand with no room to drill new holes.
The practical upshot: don’t assume any stand labeled “arcade” is bolt-pattern ready for your monitor. Verify the VESA spec of your chosen monitor first, then confirm it against the stand’s actual mounting hardware — not the listing photo.
The Three Stand Tiers Worth Considering for a Switch Build
Tier 1: Arcade1Up-Compatible Flat-Pack Pedestals ($50–$120)
These are the entry point, and they work reasonably well for a Switch setup if you’re willing to treat the stand as a base-only component and handle the monitor mounting independently. Game Room Solutions’ Stand Specification and Weight Capacity Documentation rates most flat-pack pedestals in this category for a maximum surface load of 50–75 lbs — more than enough for a Switch dock, a 24” monitor, and a wired joystick controller setup.
The real limitation is height. Arcade1Up-compatible stands bring your control surface to about 36–40 inches, which is closer to a seated bar stool height than a true stand-up arcade experience. Owners consistently report this is fine for living room setups but feels off in a dedicated game room where you’re expecting to stand and play for stretches. If your use case is couch-adjacent, this tier works. If you’re building a proper game room corner, size up.
What you’re giving up at this price: integrated cable management (your HDMI and USB-C runs will need aftermarket cable clips), any kind of locking base, and finish consistency if you ever buy a second unit — batch-to-batch color variation in the melamine laminate finish is a documented owner complaint across this tier.
If X, then Y: If your budget is firm at under $150 and you’re building a single-machine setup in a living room, a flat-pack Arcade1Up-compatible pedestal gets the job done. Buy the monitor mount bracket separately to control your VESA compatibility.
Tier 2: Dedicated Game Room Steel or Wood Stands ($200–$600)
This is where the Switch-as-arcade build starts to look intentional rather than improvised. Suppliers like Game Room Guys and Reclaimed Arcade offer stands in this range built from either powder-coated steel tube frames or hardwood/MDF combinations with proper finish options — including the walnut veneer and gloss black finishes that photograph well next to a dedicated game room build.
The critical spec to verify at this tier is surface bolt pattern flexibility. Better manufacturers in this range ship with either a pre-tapped VESA 100mm monitor mount or a universal slide bracket that accommodates both 75mm and 100mm VESA grids. Arcade Heroes’ Arcade1Up Third-Party Compatibility Roundup 2024 specifically flags monitor mounting adaptability as the most underspecified attribute in mid-range arcade stands — and owner reviews across multiple platforms echo that finding. Confirm in writing with the supplier, not just from the listing.
Weight capacity typically steps up to 100–150 lbs in this tier, which matters if you’re considering a larger display (a 32-inch monitor starts pushing 20 lbs on its own) or if you’re adding a full-size joystick panel that might weigh 10–15 lbs with hardware. Per Popular Mechanics’ overview of home arcade setup construction, the control panel surface — the angled or flat deck where your joystick and buttons mount — should be rated for at least 50 lbs of downward static load to handle aggressive play without flex.
Integrated cable management appears in some (not all) products at this tier. If your Switch dock is tucked inside the base cabinet, you’re running at minimum one HDMI cable, one USB-C power cable, and potentially a USB-A cable for a wired controller. A stand with a built-in cable chase or grommeted pass-through holes isn’t just cosmetically cleaner — it protects cables from being pinched by heavy panels, which owners of cheaper stands consistently flag as a long-term failure point.
If X, then Y: If you’re furnishing a dedicated game room and finish consistency matters — meaning this stand will sit alongside other cabinetry — budget for this tier. The jump from $120 to $300 buys you real material quality and the bolt-pattern flexibility that prevents a $40 monitor mount problem later.
Tier 3: Commercial-Grade and Custom Fabrication ($600–$1,200+)
For bar and gaming lounge operators, or serious collectors running a multi-cabinet room, the Switch-as-arcade setup takes on different requirements. You’re not just building a cool corner — you’re engineering for 24/7 floor use, potentially ADA-compliant footprint requirements (the Americans with Disabilities Act sets guidance on approach clearances and forward-reach ranges for freestanding interactive equipment), and branded venue aesthetics that need to hold up under commercial cleaning products.
At this tier, most buyers are sourcing through direct fabricators or casino-furniture-grade suppliers who will spec the build to your exact monitor, control panel layout, and Switch dock wiring configuration. Game Informer’s Nintendo Switch Dock and Display Compatibility Feature notes that the Switch’s dock-based HDMI output supports up to 1080p at 60fps — relevant when you’re speccing a commercial display, since some high-brightness commercial monitors designed for venue use run 1080p natively while others upsample from 720p, affecting picture quality in ambient light environments.
The bolt-pattern problem essentially disappears at custom-fab tier because you’re specifying the monitor upfront and the fabricator designs the mount around it. What you’re paying for beyond the hardware is material traceability (steel gauge documentation, finish specifications in writing), lead time (typically 4–8 weeks from order to delivery for custom builds), and the ability to order matching units for a multi-cabinet build with guaranteed finish consistency.
LTL freight — less-than-truckload shipping, where your item ships in a shared trailer rather than a dedicated vehicle — is the expected delivery method for anything over 150 lbs in this tier. LTL freight surprises are the single most-cited complaint in game room forums, and for good reason: a $900 stand with a $280 freight charge and a two-week delivery window is a materially different purchase than the listing implies. Always get the freight quote in writing before finalizing a purchase order, and confirm whether the quote includes liftgate service (a hydraulic platform that lowers your shipment from the truck to ground level — essential unless you have a loading dock).
If X, then Y: If you’re operating a venue or building a showpiece multi-cabinet room where finish matching and long-term durability justify the premium, this tier is the right call. Get the freight quote first. Then spec the VESA mount. Then choose your finish.
The Decision Framework, Simplified
The bolt-pattern headache that derails most Switch arcade builds isn’t a mystery once you map the variables:
- Know your monitor’s VESA spec before you buy the stand. 75mm and 100mm are both common; the stand’s mount needs to match or accommodate both.
- Match stand height to use case. 36–40” for seated/bar-stool play; 48–54” for true stand-up arcade feel.
- Verify weight capacity against your full loaded configuration — monitor + joystick panel + dock + cables + any decorative marquee hardware.
- Get the freight quote in writing at any order over $300, before you commit.
- Confirm cable management is either built in or budget $20–40 for aftermarket solutions at flat-pack tier.
The Switch is genuinely well-suited to a retro arcade build — its library, controller ecosystem, and compact dock all point that direction. The stands that make the build sing are the ones where these five variables are verified in advance rather than discovered after delivery. Do that work upfront, and the form factor delivers exactly what it promises.